We’ve found the ultimate craft to try and the good news is it should engage your teens, too – hydro dipping!
A craft technique that originated in the US, hydrographic dipping (shorted to hydro printing) is popular with young people as it’s a fun way to personalise their belongings like trainers and mobile phone cases. It involves dipping 3D items into a container of water that has colour in it either from spray paints or hydro-dipping films.
It’s a craft with the wow-factor that gives professional results – people won’t believe you did it at home. The aesthetic is similar to tie-dye, marbling and acrylic pouring. However, what makes hydro dipping so interesting is that you can dip surfaces you wouldn’t be able to using other techniques.
What is hydro dipping?
Hydro dipping is a form of water transfer printing. Colours are applied to the surface of water to create a pattern, when an object is dipped into it the colours and patterns adhere to the surface of the object. It’s also known as immersion printing and is a form of marbling.
What do you need for hydro dipping?
Tray or container
You need a tray or bucket big enough for your item to be submerged in with a gap around the edge between your item and the container so that it can be lifted up without damaging the design.
Disposable gloves
Protect your hands by wearing gloves when you’re doing the hydro dipping otherwise you’ll end up with paint and dyes on your skin.
Hydro dipping colourant
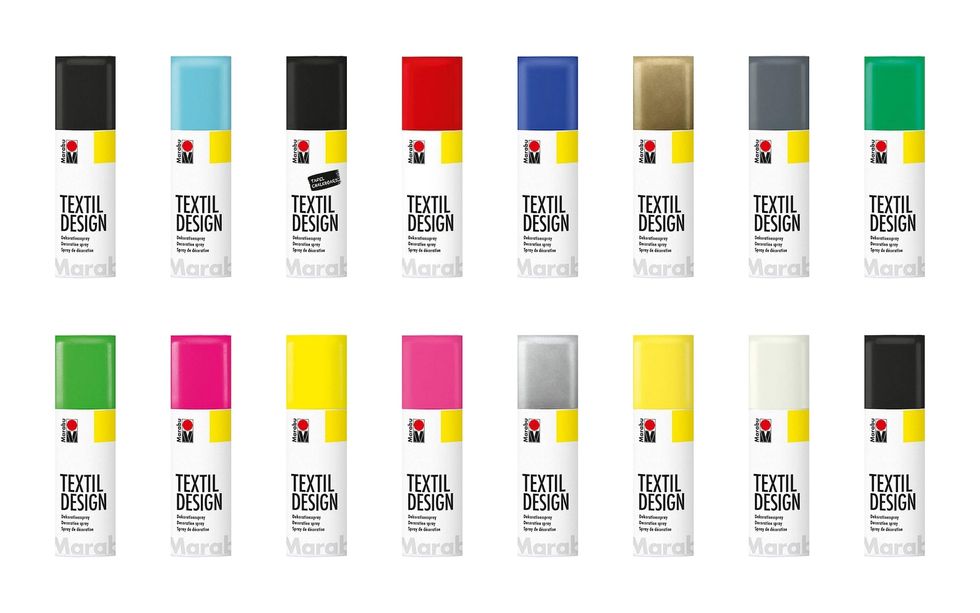
We’ll be explaining two ways to do hydro dipping. The first is using spray paints, for that you’ll need a selection of spray paints in a range of colours. The second technique is using hydro dipping foils in the colours and patterns of your choice.
Primer spray for hydro dipping
This is a spray that needs to be applied all over the surface of your item to help the colour and pattern adhere to the surface.
Activator spray for hydro dipping
This is only needed if you’re using hydro dipping foils – the spray turns the foil into liquid.
Sealant / top coat spray for hydro dipping
At the final stage, a sealant gets sprayed over your item to ensure the colour and pattern are long-lasting.
Wooden stick
Use this to make swirly designs or create a marbled effect in your colours.
Painter’s tape
This is to mask off any areas of your item that you don’t want to pick up any colour. For example, if you are hydro dipping footwear you might not want the soles to be coloured – in which case, cover them with tape before dipping.
Preparing your item for hydro dipping
Before you begin the hydro dipping you need to prepare your item. Ensure it’s clean and dust free then spray a primer all over it. The primer needs to be dry before applying a second coat. This may take a couple of hours but be patient – the primer is an essential step as it helps the colours adhere to the surface.
Hydro dipping ideas
Looking for inspiration for your own hydro dipping projects? Here are some of our favourite ideas from Pinterest
Hydro dip Christmas ornaments
Hydro dip bottles
Hydro dip canvas shoes
Hydro dipped concrete planter
Hydro dip vases
Hydro dipping toys
How to do hydro dipping
There are different hydro dipping techniques. Here are two ways you can try this trending craft at home.
How to hydro dip with spray paint
TIP: When you’re using spray paints it’s advisable to do it in a well-ventilated space. The best option is to do it outdoors.
STEP 1: If you want the entire surface of your object to be covered, spray it all over with spray paint first, so that when you do your hydro dipping, any gaps won’t show. If however, you don’t mind the original surface peeping through in areas you can leave out this stage.
STEP 2: Fill ¾ of your container with water. Use warm tap water.
STEP 3: Give your spray cans a good shake before you start, then it’s time for the fun part! Take your first can and spray over the surface of the water. Then apply different colours on top to create a pattern or design. You can use a stick to move the colours around.
STEP 4: Wearing disposable gloves, dip your object into the colours and submerge your object then lift it out and place it on a hard surface to dry.
STEP 5: When your item is fully dry spray a sealant/top coat all over to preserve the design.
How to do hydro dipping with foils
Step 1: Fill a container with water.
Step 2: Take your foil sheet and cut a piece large enough to cover the surface of your item, make sure it stays dry before it comes into contact with the water – if it gets wet too soon, it may affect the look of your item.
Step 3: Carefully lay your sheet down onto the surface of your water and allow it to get fully wet – this should take a minute. Spray over the surface with activator spray. Within a few seconds the film will turn into liquid leaving its coloured pattern on the surface. The colours will spread out to fill the whole container.
Step 4: Wearing gloves, carefully take your item and submerge it into the water and then lift it out, it will now be covered in the design from the paper.
Step 5: Rinse your item under running water to remove any residue left over from the spray and leave it to dry thoroughly.
Step 6: Finally apply a topcoat or sealant spray all over your item, leave it to dry before spraying a second coat. Your hydro-dipped item is now ready to use.
If you enjoyed learning about hydro dipping why not check out our article on how to do acrylic pouring.


